Tie-dye is a timeless craft offering creative expression through fabric․ With a resurgence in popularity, it allows anyone to create unique, colorful patterns, making it a beloved activity for all ages․
1․1 What is Tie Dye?
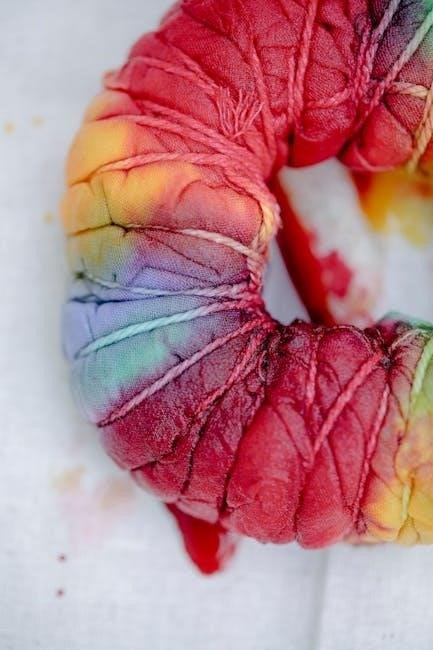
Tie-dye is a fabric craft involving folding, twisting, or pleating fabric and binding it with thread or rubber bands․ This process creates resistance areas where dye cannot penetrate, resulting in vibrant, multi-colored patterns․ It’s a simple yet creative technique that allows for unique designs, making it a popular activity for crafters and fashion enthusiasts alike․
1․2 Popular Tie Dye Techniques
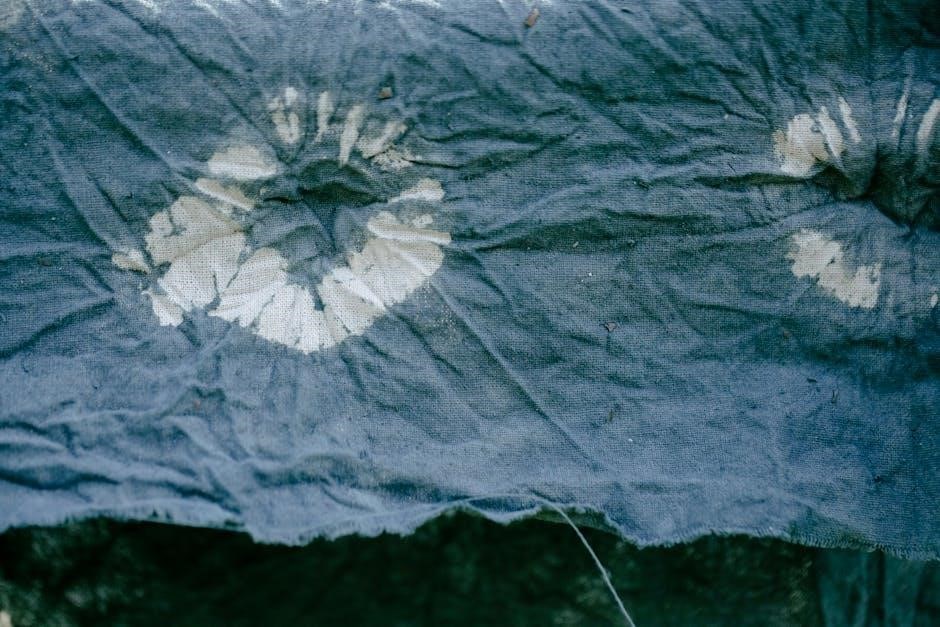
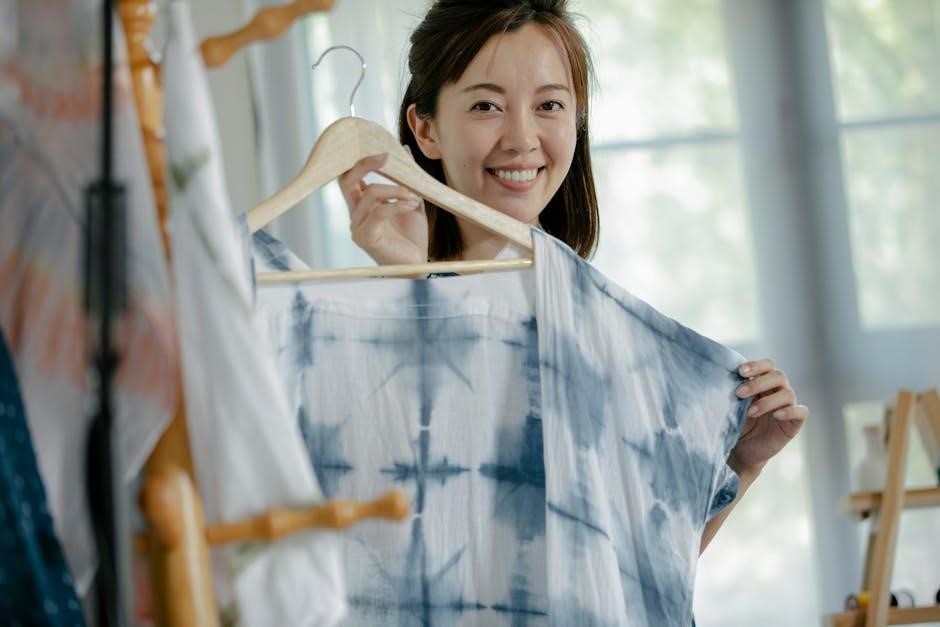
Popular tie-dye techniques include the spiral, bullseye, accordion fold, and shibori․ Each method involves unique folding and binding to create distinct patterns․ Spiral involves twisting fabric into a circle, while accordion folding creates stripes․ These techniques allow for endless creativity, resulting in one-of-a-kind designs that make tie-dye projects truly personalized and visually striking․

Materials Needed for Tie Dye
Gloves, dye, rubber bands, buckets, and protective gear are essential․ Choose natural fabrics like cotton for best results․ Prepare supplies to ensure a smooth process․
2․1 Essential Supplies
Gather rubber bands, gloves, dye, buckets, and protective gear․ Use natural fabrics like cotton for optimal results․ Ensure all supplies are ready to streamline the tie-dye process effectively․
2․2 Optional Materials for Advanced Techniques
For intricate designs, consider shibori rings or additional dye colors․ Squeeze bottles aid precise application․ Ice or natural dyes, like plant-based extracts, offer unique effects․ These materials enhance creativity and allow for more complex, layered patterns in your tie-dye projects․

Preparing Your Fabric
Wash and dry fabric to remove finishes․ Soak in warm water with soda ash to enhance dye absorption․ Proper preparation ensures vibrant, long-lasting colors․
3․1 Washing and Drying the Fabric
Wash fabric in hot water to remove finishes and soften fibers․ Do not use fabric softeners or bleach․ Dry thoroughly, preferably air-drying to prevent shrinkage․ This step ensures optimal dye absorption and even color distribution during the tie-dye process․
3․2 Soaking the Fabric
Soak fabric in warm water with a solution of 1 cup soda ash per gallon․ Let it sit 8–12 hours or overnight․ This step opens fibers, ensuring vibrant colors and even dye absorption․ Gently squeeze out excess water before folding to prepare for binding and dye application․
3․3 Folding Techniques
Folding techniques create unique patterns․ Try the accordion fold for stripes, spiral fold for a circular design, or bullseye fold for concentric rings․ Experiment with different methods to achieve desired effects․ Secure folds tightly with rubber bands to ensure crisp, defined patterns․ Proper folding is key to achieving vibrant, distinct tie-dye designs․
Step-by-Step Guide to Tie Dye
Learn to create vibrant designs with this easy guide․ From preparing fabric to applying dye, each step ensures unique, professional-looking results․ Follow instructions carefully for best outcomes․
4․1 Step 1: Gather Your Supplies
Start by collecting essential materials: rubber bands, gloves, dye powder, soda ash, buckets, water, and a pair of old towels; Ensure you have all tools ready before beginning the process for a smooth experience․ Proper preparation prevents delays and ensures safety while working with dyes and chemicals․ Organize everything neatly within reach․
4․2 Step 2: Fold Your Shirt
Folding is key to creating unique tie-dye patterns․ Try methods like the bullseye, spiral, or accordion fold․ Each technique results in distinct designs․ Lay the shirt flat, fold it tightly, and secure with rubber bands․ Ensure folds are crisp for vibrant color distribution․ Experiment with different folds to achieve the desired visual effect․
4․3 Step 3: Bind the Fabric
After folding, secure the fabric with rubber bands to create resistance areas for the dye․ Tight binding ensures crisp patterns, while loose binding allows for softer, blended colors․ Experiment with different binding techniques to achieve unique effects․ Properly aligned bands are essential for even dye distribution and desired design outcomes․
4․4 Step 4: Apply the Dye
Using squeeze bottles or a dye tray, apply the dye evenly to the folded fabric․ For intricate patterns, focus on specific areas or layers․ If dip dyeing, submerge the bound fabric in the dye bath, ensuring full coverage․ Work in a well-ventilated space and avoid overlapping colors until the desired effect is achieved․ Let the dye saturate thoroughly․
4․5 Step 5: Let the Dye Set
Allow the dye to set by keeping the fabric bound and undisturbed for 6-8 hours or overnight․ Place it in a plastic bag to retain moisture and promote even color absorption․ Avoid direct sunlight during this process․ The longer it sits, the deeper the colors will penetrate the fabric, ensuring vibrant results․
4․6 Step 6: Rinse and Wash
Rinse the fabric gently under cold running water to remove excess dye․ Remove rubber bands and wash the garment separately in hot water using mild detergent․ Repeat washing if dye remains․ This step ensures vibrant, long-lasting colors and prevents dye from bleeding onto other clothes․

Advanced Techniques
Explore creative methods like multiple color layering and re-tying for contrasting patterns, enabling unique designs and intricate visuals in your tie-dye projects․
5․1 Multiple Color Applications
Layer multiple colors by applying one hue, letting it set, then adding another․ Use squeeze bottles for precision or dip dye for gradient effects․ Experiment with natural dyes for unique shades and ensure rubber bands isolate sections for crisp boundaries between colors․ This technique allows for intricate, multi-tonal designs and creative visual effects․
5․2 Re-Tying for Contrasting Patterns
After dyeing, untie and re-tie the fabric in a contrasting pattern for bold, multi-color designs․ Use rubber bands to isolate sections, ensuring vibrant colors don’t bleed․ This technique allows for dynamic visual effects, creating unique and intricate patterns that stand out․ Perfect for achieving sharp contrasts and eye-catching results in your tie-dye projects․
Safety Tips
Always wear gloves to protect your hands from dye stains․ Work in a well-ventilated area to avoid inhaling dye fumes․ Use protective eyewear for extra precaution․
6․1 Wearing Gloves
Always wear gloves when handling dye to prevent skin staining and exposure to harsh chemicals․ Choose waterproof gloves for better protection․ This ensures a safe and hygienic tie-dye experience, keeping your hands clean and unaffected by the dye․ Gloves are a simple yet essential precaution for a fun and worry-free process․
6․2 Working in a Well-Ventilated Area
Always work in a well-ventilated area to avoid inhaling dye fumes․ Open windows or use fans to ensure airflow, preventing the accumulation of harmful vapors․ This precaution is crucial for maintaining a safe and healthy environment while tie-dyeing, especially when using chemical-based dyes․
Troubleshooting Common Issues
Troubleshoot issues like uneven dye distribution by adjusting folding techniques or using more dye․ Fading can be minimized with proper washing and using color-fixing agents․
7․1 Uneven Color Distribution
Uneven color distribution can occur due to inconsistent dye application or improper folding․ Ensure fabric is evenly soaked and tightly bound․ Apply dye generously to all areas, especially folded sections, to achieve consistent results․ Avoid over-saturating, as this can lead to color bleeding․ Proper binding and soaking times help prevent uneven patterns․
7․2 Fading or Washing Out
Fading or washing out can occur if dye isn’t properly set or if fabric isn’t cared for gently․ Use high-quality dye and follow instructions precisely․ Wash tie-dye items inside out in cold water and avoid harsh detergents․ Adding a vinegar rinse after dyeing can help fix colors, reducing fading over time․
Creative Variations
Explore unique methods like ice dyeing for marbled effects or natural dyes for earthy tones․ These techniques add artistic flair, allowing for endless experimentation and personalized designs․
8․1 Ice Dyeing
Ice dyeing is a unique technique where ice is placed on folded fabric, allowing dye to seep into the folds as it melts․ This creates distinctive marbled patterns․ To try it, place ice cubes on tied fabric and let it sit․ The slower melting process results in soft, blended colors․ For deeper hues, allow more time for the dye to set․
8․2 Using Natural Dyes
Explore eco-friendly tie-dye with natural dyes from plants, vegetables, and spices․ Materials like beets, turmeric, and coffee create unique shades․ Simply soak the fabric, bind it, and apply the dye․ Let it set, then rinse gently․ Natural dyes offer sustainable, vibrant results perfect for creative projects․ Experiment with different combinations for distinctive colors․

Caring for Your Tie-Dye Project
Wash tie-dye projects in cold water with mild detergent․ Turn inside out to protect colors․ Avoid bleach or harsh chemicals․ Air-dry or tumble dry on low․
9․1 Washing Instructions
After the dye sets, turn the garment inside out․ Wash in cold water with mild detergent to preserve colors․ Avoid bleach or harsh chemicals․ Gently agitate by hand or use a delicate cycle․ Rinse thoroughly and air-dry or tumble dry on low to maintain vibrant patterns and prevent fading․
9․2 Drying Tips
For optimal results, air-dry your tie-dye garment or use a low heat setting on your dryer․ Avoid direct sunlight to prevent colors from fading․ While the garment is still damp, gently reshape it to maintain its original form and ensure a smooth finish․ Proper drying helps preserve vibrant colors and achieves a professional look․
Printable Instructions
Download a step-by-step guide for tie-dye projects, including folding patterns and dye application tips․ This printable resource ensures a professional finish for your DIY creations at home․
10․1 Step-by-Step Printable Guide
Download a detailed, step-by-step guide for tie-dye projects, covering essential steps like gathering supplies, folding techniques, binding, dye application, and rinsing; Perfect for beginners, this printable guide ensures a smooth, professional process from start to finish․ Keep it handy for easy reference and achieve stunning, unique results every time․
10․2 Folding Patterns Cheat Sheet
A handy guide featuring visual illustrations of popular folding techniques for tie-dye, such as the spiral, accordion, and knotted methods․ This cheat sheet provides clear, easy-to-follow instructions to help you achieve intricate designs․ Perfect for quick reference, it ensures your folds are precise, leading to professional-looking results every time you tie-dye․
Tie-dye is a fun, easy craft that sparks creativity․ With simple steps, anyone can create vibrant designs․ Enjoy experimenting with colors and patterns!
11․1 Final Tips for Success
For a successful tie-dye project, always pre-wash fabric to remove finishes․ Use high-quality dyes and follow instructions precisely․ Allow ample time for the dye to set, and wash gently to prevent fading․ Experiment with folds and colors to achieve unique patterns․ Practice patience and creativity for the best results every time!
11․2 Encouragement to Experiment
Embrace creativity and try new techniques to achieve unique results․ Experiment with colors, patterns, and folding methods to make each project one-of-a-kind․ Don’t be afraid to step out of your comfort zone—tie-dye is all about exploration and fun․ Keep trying new ideas and enjoy the process of creating something truly personal and special․ Happy dyeing!